Harry Potter-Themed Baby Shower! Part One
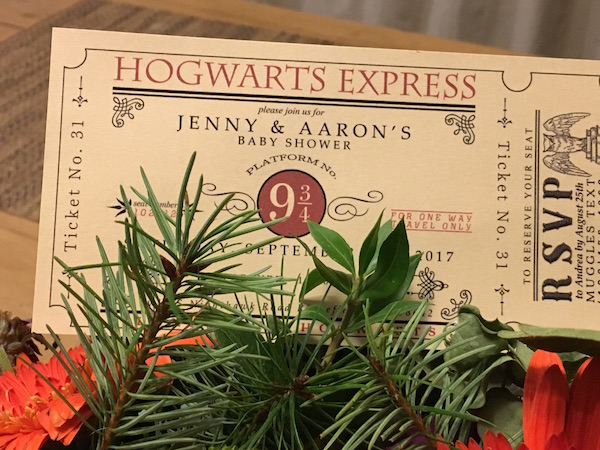
When I found out my brother was going to be a father, and in turn, make me Auntie Julianne, you can imagine how excited I was!
(Due to the fact that this post is packed with cuteness, I wanted to split it into two posts. Part One is what I did behind the scenes for the event creatively. Part Two will be pictures of the outcome of my hard work at the Harry Potter Baby Shower itself!)
When I received my ticket to ride the Hogwarts Express to their Harry Potter-themed baby shower…well, needless to say, I felt like Ronald Weasley on Christmas morning!
My sister-in-law’s sister was organizing the shindig, and I wanted to find a way to creatively help out. It was going to be an elegant white- and gold-colored event, but no one said it couldn’t be magical too!
The very first thing I did, was go to Pinterest and create a Harry Potter board with all the DIY/creative things that we could possibly do to help make this event truly spectacular!
I decided I would be in charge of a few decorations, but more importantly, I wanted to have an “Adopt a Magical Creature” table whose inhabitants would act as game prizes for the event. Each creature would come from the Harry Potter world and would include the newest Fantastic Beasts movie.
Pinterest and YouTube were my best friends when it came to finding just the right characters to create.
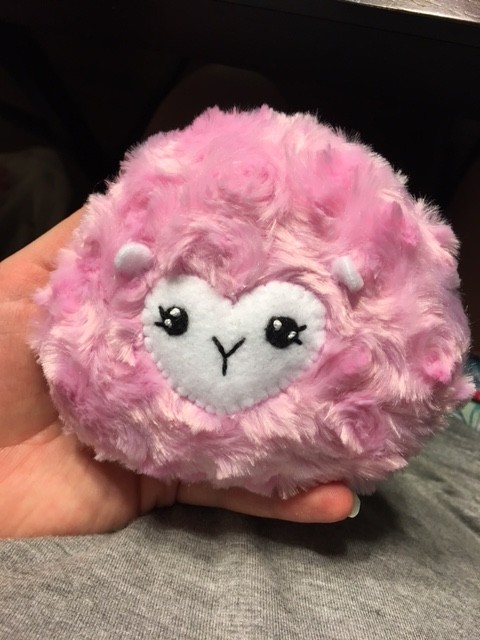
Pygmy Puff: a miniature Puffskein, bred by Fred and George Weasley to sell in their shop, Weasleys’ Wizard Wheezes
When I found Lauren Fairweather on YouTube and all of her adorable Harry Potter DIY projects and more, I knew I was about to get my sewing machine out, blow off the dust, and reteach myself how to thread the bobbin.
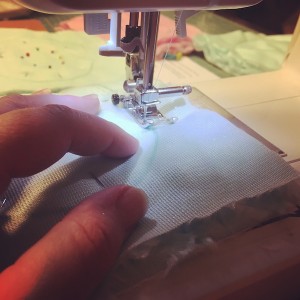
After a trip to Joann Fabrics to pick up some adorable furry fabric for these little critters, I was ready to print the Free Pygmy Puff Pattern and begin cutting out and sewing the bodies.
Once the bodies were sewn, I decided to continue the assembly line process and make all of the faces I would need at once. I’d cut all the fleece ears as well for good measure.
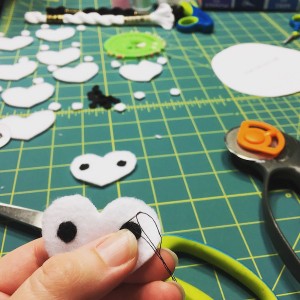
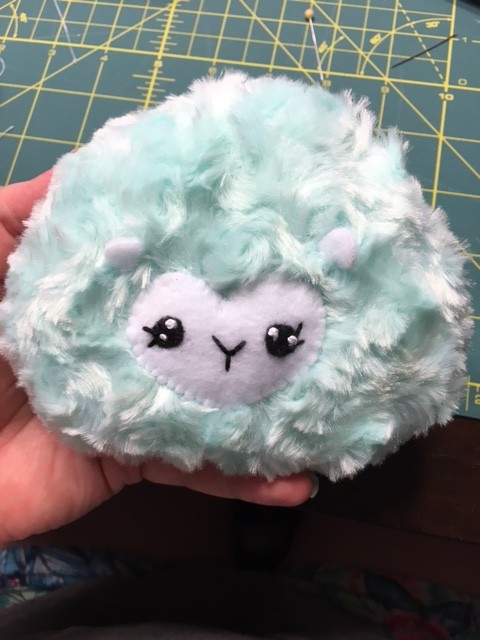
After the faces were done and all parts cut out, it was time to stuff and sew closed the bodies, then hand sew on the adorable Pygmy faces and ears. After that, these soft little fur-balls were ready to be adopted into a new home!
I was going to make an even amount of pink- and teal-colored Pygmies, but decided that since we already knew they were having a boy, I would stick to the teal Pygmies. I did, however, make a couple little pink ones just for fun! 🙂

Bowtruckle: The Bowtruckle is immensely difficult to spot, being a hand-sized, insect eating, tree dweller with long sharp fingers (two on each hand), brown eyes, and a general appearance of a flat-faced little stickman made of bark and twigs, which serves well as camouflage in its natural habitat.
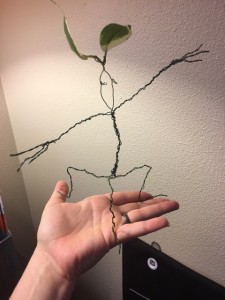
Pinterest was my original go-to on this one. From there, I was sent over to Chreezti’s blog to follow along with her DIY Posable Pickett the Bowtruckle Tutorial.
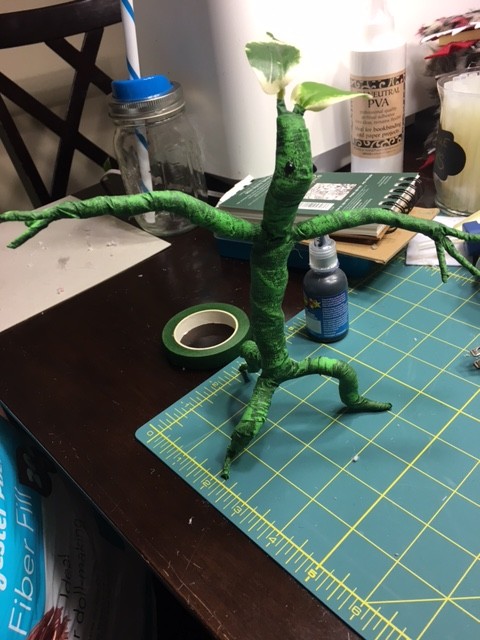
Back to Joann’s where I found the materials I would need, which included floral wire and tape, to give Pickett the most plantlike appearance. These guys were a little tricky, but once you get the hang of it, they work up pretty fast.
For mine, I only varied her pattern slightly, by wrapping the face, arms (not hands), body, legs (not feet) with black pipe cleaner to make the wire a little bit bulkier before wrapping around the floral tape. I also did these with my Aunt Mary who is an artist/puppeteer (you can see more of what she does here). She thought dry-brush painting them with a bit of lighter green acrylic paint would add a nice variation and I had to agree.
What do you think?
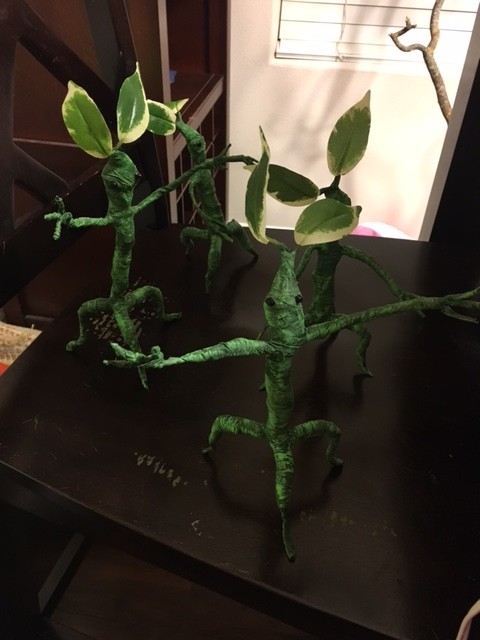
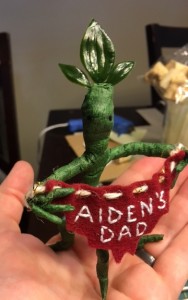
Once I was comfortable with making the larger Bowtruckles, I decided to follow the same idea, but make two smaller baby Bowtruckles for Aaron and Jenny. Each would be holding banners that said either, “Aiden’s Mom” or “Aiden’s Dad” on them. I glued then used more of the floral tape to wrap pins onto the backs of them so they could be worn during the party.
With the Bowtruckles complete, it was time to move onto the next monster…
Monster Book of Monsters: This book was used in the Care of Magical Creatures class taught by Rubeus Hagrid. It is difficult to read, as it tends to bite those that try, but a simple stroke of the spine will see it tamed enough to allow you access.
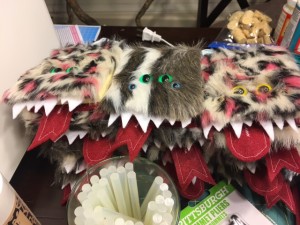
I had previously seen several examples of DIY Monster Book of Monsters done by other crafters, but when I found The Little Monster Book by Alpine Butterfly on Instructables, I knew I could Harry Potter-ify these little post-it note holders. All I needed to change was instead of making the eyes higher up and having only two, I would make them lower sitting on the notepad and add two more smaller eyes to either side creating a sort of crescent shape like a spider would have.
I would say these little guys came out pretty close to how they appeared in the movies. They are soft to hold and they are purposeful too! Once you finish out the notepad inside, simply glue another pad in its place!
Mandrake (Mandragora): a plant which has a root that looks like a human (like a baby when the plant is young, but maturing as the plant grows). When matured, its cry can be fatal to any person who hears it.
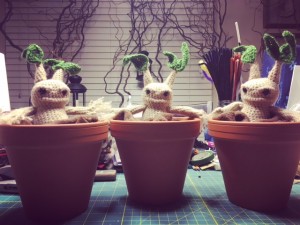
Amigurumi (crocheted plush toys) have always been one of my favorite things to make. Although I know how to create my own patterns and characters, I saw no point when I found the adorable Mandrake pattern available for sale by MrFox on Etsy. After purchasing the pattern, I made three of them up and then decided, what’s a mandrake without a pot to put it in?
After all, if they are taken from their comfy soil surroundings, their screams can be fatal!
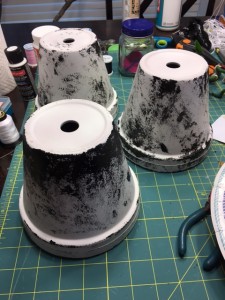
So, I bought three terracotta pots, painted them white, then took a piece of burlap and used that to rub on some black paint accents to make the pots a bit distressed. I searched for the best looking, free Mandrake label I could find online, printed and cut them out, then decoupaged them onto the then dry pots.
On a prior trip to Joann’s, I went ahead and got a bit of brown fleece fabric and cut it into three rectangles that I later twisted around the lower halves of the finished Mandrake amigurumi. Now my Mandrakes were all snuggled in with their soil blankets for a nice, warm rest.
Tune in to Part Two of my Harry Potter-Themed Baby Shower update so that you can see all of these amazing characters laid out on their adoption table along with the fun decorations I made as well!
Let’s just say, it’ll be a Howler of a time!

8 Comments
Jackie
This is such a fun theme for a party!! You did such a great job with all your crafts. The parents to be must have been so happy! Looking forward to party two and seeing what else you created.
JHWinter
Thanks Jackie! I’m so glad you enjoyed the post. Part Two is coming!!! 😀
Cindy
Julianne, The beasts up for adoption are ADORABLE! I love each and every one of them. I can’t wait to see the pictures from the shower and envy all of the lucky adoptive parents of your beasts! 🙂
JHWinter
Aww! Thank you! They were tons of fun to make and I can’t wait to share the pictures from the shower 😀
Paula Cacciola
Wow! This is incredible! I know my niece would have loved something like this for either of her boys as she is a huge Harry Potter fan. I’m definitely going to take some ideas to make her some presents. Way to go Auntie!!! And thanks for some ideas that will make this Auntie a star in my niece’s eyes 🙂
JHWinter
Of course! I wish I had thought of a Harry Potter-themed baby shower when I had my kids too! Lucky for me, they thought of it, and I got to attend 🙂
DAN ALATORRE
Those are INCREDIBLE!
JHWinter
Thank you for stopping by Dan and thanks for the compliment! They were so much fun to make and everyone really enjoyed them at the baby shower 🙂