A to Z Challenge: P is for Popsicle Stick Picture Frame Craft
 I was asked by the library where I work, to come up with some craft projects for kids. These were to be done at a “Crafts” booth for a local event the city was putting on.
I came up with two different crafts for the kids to choose from. One of the two was a Popsicle stick picture frame whose construction pattern came from DIY Family: The Wonderful World of Crafts. I have included my pictures below on the assembly as well:
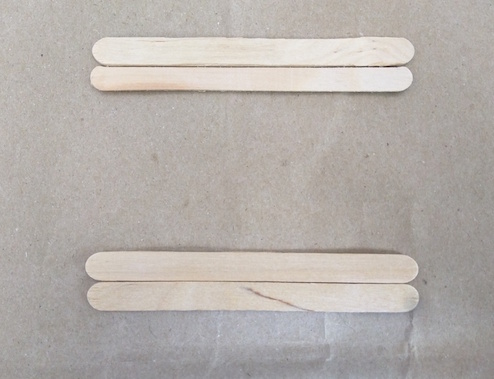
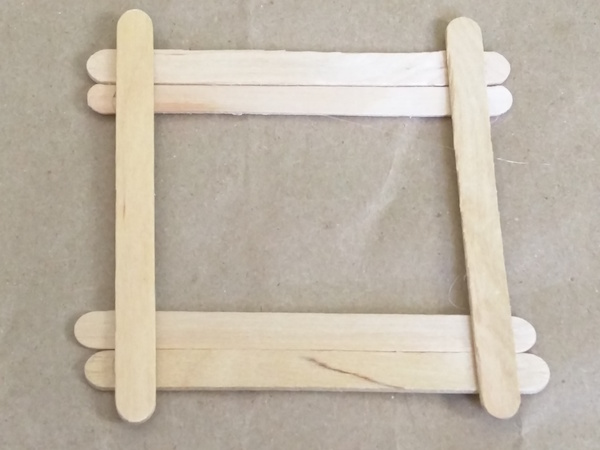
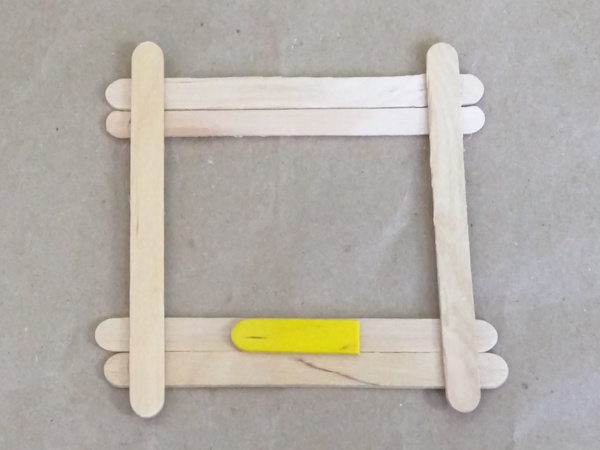
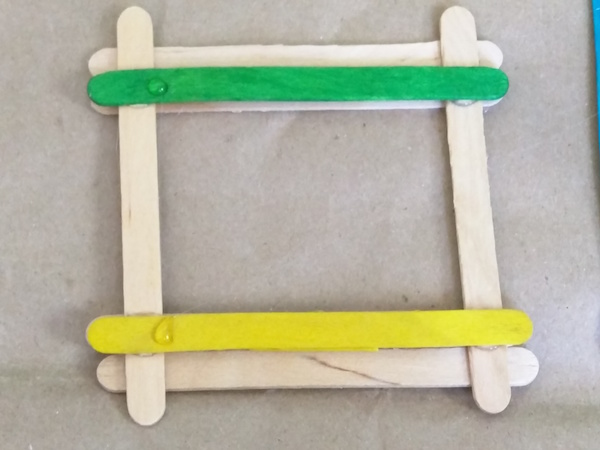
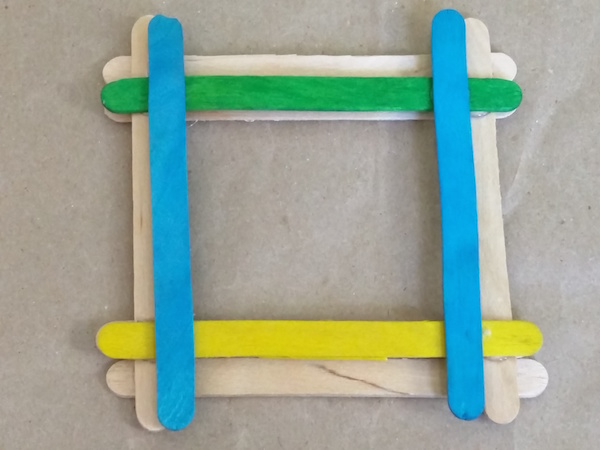
You could choose to use the natural wood sticks if you want a more earthy look to your frame, or you could go wild and pick out the colorful sticks that come in all the colors of the rainbow. Since kids love color, I went with the colorful ones for the event.
The construction of the frame was ingenious and because of how the stand and frame are built, the frame can be used for a picture that is either portrait or landscape. If you have a picture in mind before you begin, you will better know how to decorate your frame (and where to put that little 1/4 stick, which is what holds the picture in place). Directions for the stand aren’t included here. You can find them, as well as detailed instructions for the frame, by following the link at the beginning of this post.
Decorating is where the fun begins!
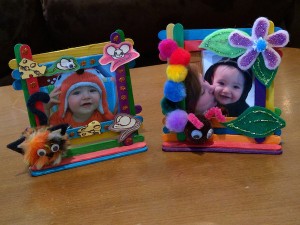
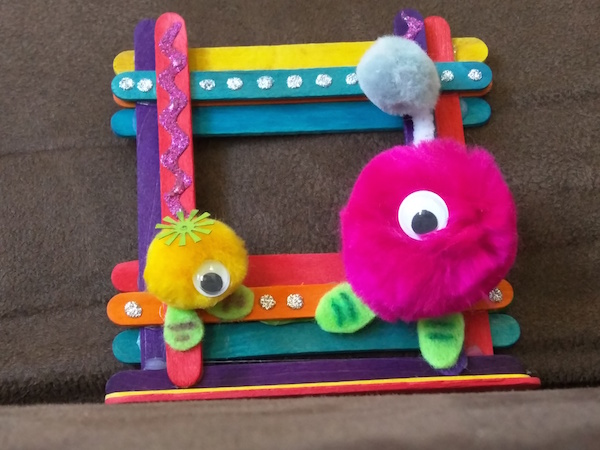
I made several examples to show the kids. I had a caterpillar with some leaves, a cat one for cat-enthusiasts, and a monster one because, why not?
You can use whatever supplies you have to decorate: glitter, glitter pens, sequins, beads, felt, puff balls, pip cleaners, googly eyes, construction paper to draw on, etc.
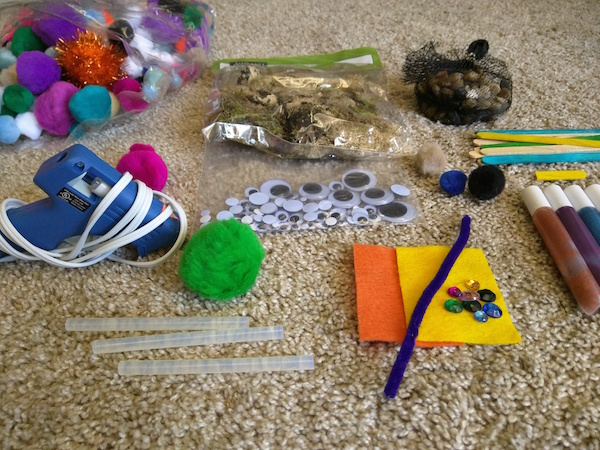
You will need scissors and craft glue as well (hot glue can be used – see also, rock sculpture hot glue craft).
Directions to Make the Monster Picture Frame:
Make the picture frame as shown in the link above from DIY Family using the colorful Popsicle sticks (mine is a combination of both natural and colorful sticks). Using multiple colors makes the frame even more wacky!

- Once the glue has all dried, it is time to get creative! Get out: 1 large pom pom, 2 medium pom poms, 1 small pom pom, 1 large googly eye, 1 small googly eye, a small piece of pipe cleaner, 2 small pieces of felt (for the feet), and glitter pens.
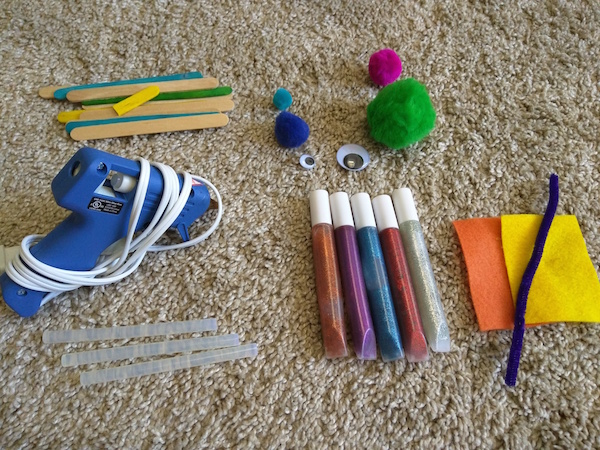
Photo Credit: J.H. Winter - Take the two small pieces of felt and cut out two oval shapes from each. These will become the feet. Glue the feet to the bottom of the frame where the two monsters will be.
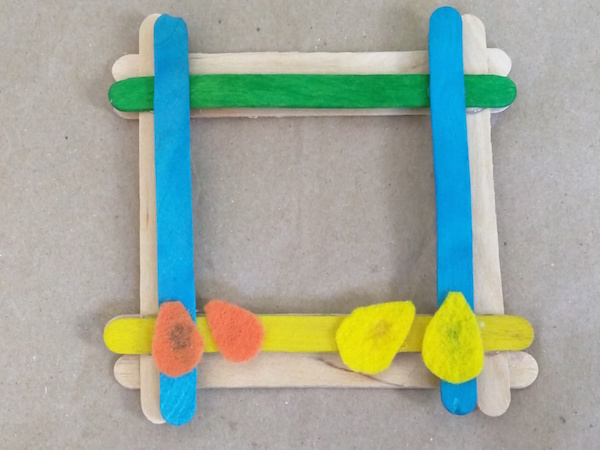
Photo Credit: J.H. Winter - Glue down the body pompoms for each monster just above the feet an the bottom.
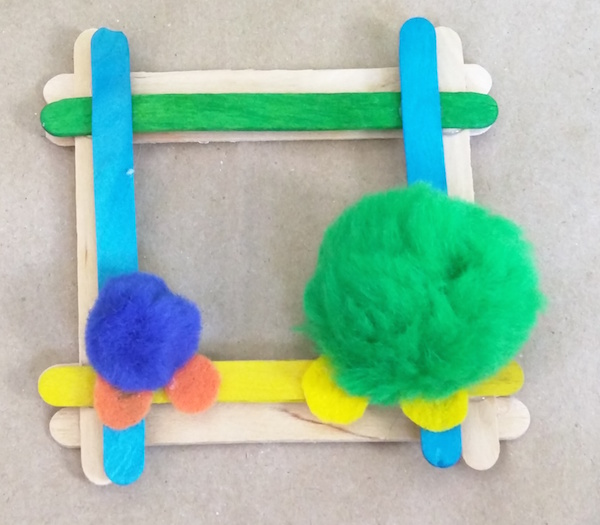
Photo Credit: J.H. Winter - Glue down the googly eyes onto each of the pompoms.
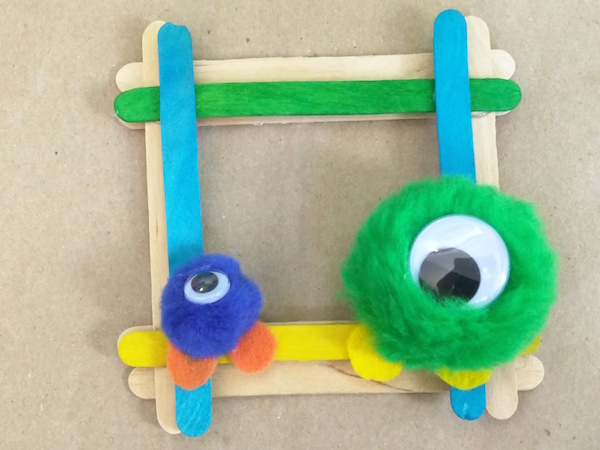
Photo Credit: J.H. Winter - Take the small pieces of pipe cleaner, and bend them into wide C shapes. Glue the small pompom on one and the medium pompom on the other.
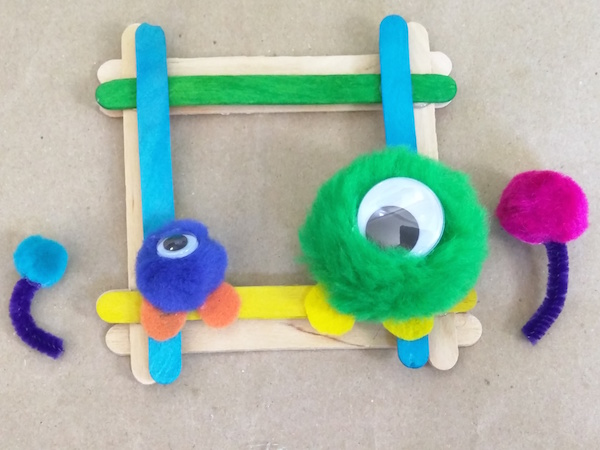
Photo Credit: J.H. Winter - Take the other end of the pipe cleaner and add glue around the circumference. Find the best spot on the top of each monster’s head and push the pipe cleaner toward the center of the pompom, making sure that the pompom’s fur adheres to the pipe cleaner. Now place a dot of glue at the back of the arced part of the pipe cleaner and push the glue down onto the frame. This helps make the antennae more stable. Both monsters are now complete.
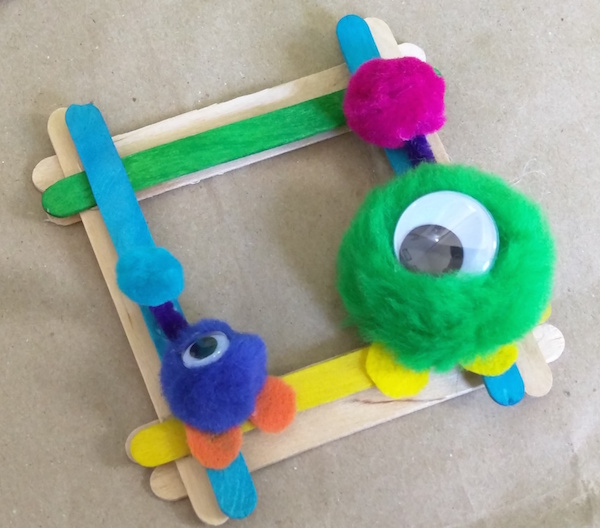
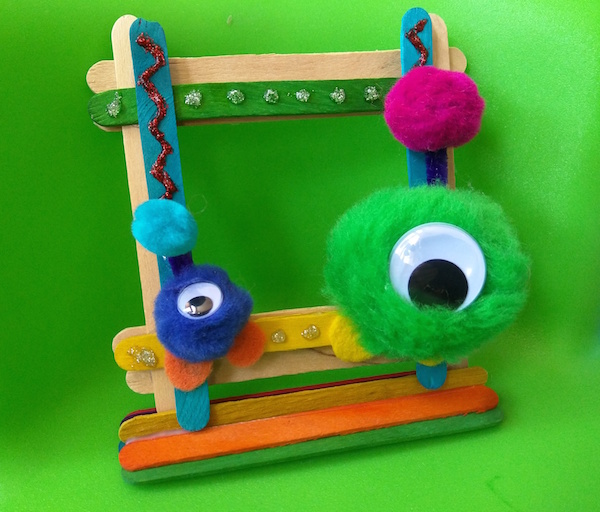
Photo Credit: J.H. Winter - For the rest of the frame you can do whatever you’d like really! For mine, I used the glitter pens to create zigzags and wavy lines that worked across all four sides of the frame. You could use sequins if you’d like or make more monsters if you have more pompoms (see picture below).
Now all you need is a cute photo to put inside the frame!
I hope you enjoyed this Monster Picture Frame craft! You can really get as creative as you’d like with these cute little frames. I have taken the natural wooden sticks and made a nature themed frame, hot gluing fake moss and small stones from Michael’s craft store. You could come up with some really cute pompom characters that might be found out in nature as well (small bird, frog, etc).
Ask your kids to join in the fun, if you haven’t already. It’s a great project to do together. Whether you do this alone, with your kids, or with a friend: Let your imagination run wild with this one.
Did you like this craft? Would you like to see how I make the nature-themed frames?

4 Comments
Jackie
Such a cute craft! And such a good idea to make something that’s also useful, like a picture frame-would be a great Mother’s day present. I’d love to see the nature themed ones you made!
JHWinter
Thank you, Jackie! I will add that to the list of future blog posts!
BonsaiTreeGardener
Great write-up, I am regular visitor of one’s website, maintain up the excellent operate, and It is going to be a regular visitor for a long time.
JHWinter
Thank you so much for stopping by!