How to Crochet for Absolute Beginners: Learn All the Basic Stitches and Make your First Amigurumi!
If you have ever wanted to learn how to crochet, or want to try your hand at making an amigurumi, this extensive step-by-step tutorial is for you!
Work with me to make your very first amigurumi, while learning all of the basic stitches you’ll need to make amigurumi’s in the future. You’ll learn: double magic ring, single crochet, increase, invisible decrease, fasten off, weaving in ends, slipknot, slipstitch, chain, front/back loops only, picot, applying safety eyes, basic embroidery, and attaching pieces together.
A comprehensive tutorial for the new crocheter. LET’S CROCHET!
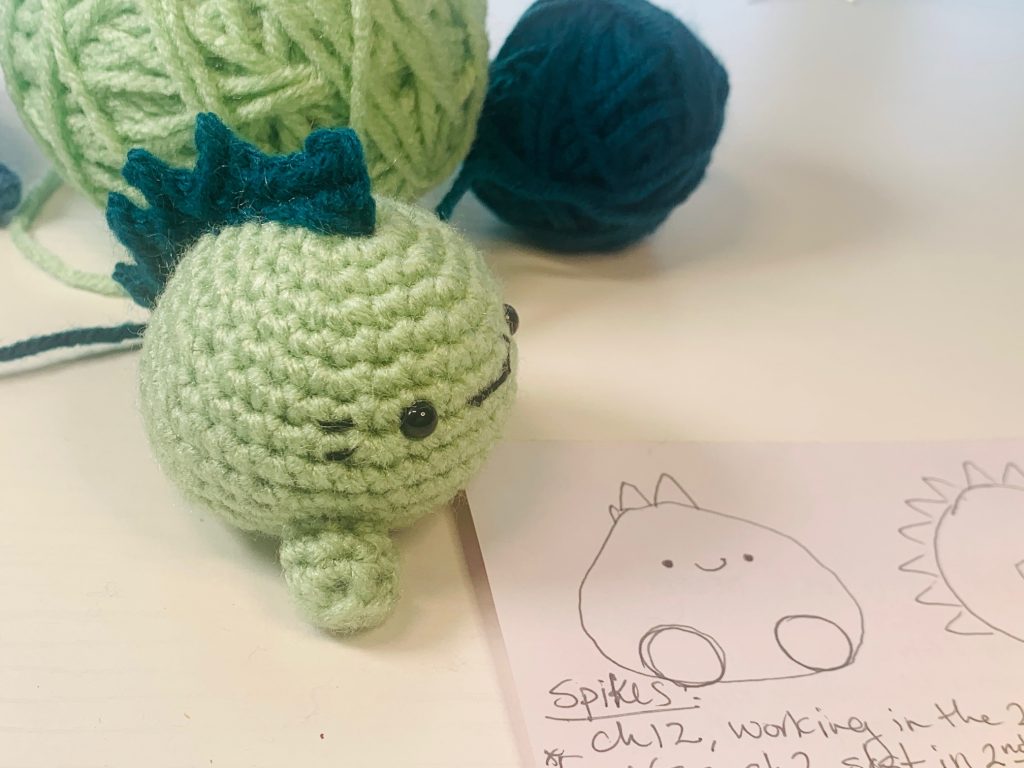
Dinosaur Crochet Amigurumi
** I am no longer requiring a signup for my newsletter to access the free patterns, however, it would really help me if you would consider subscribing anyway, so that I can continue offering free patterns/content here at Frizzy Bee. I will not spam your inbox, and merely use the newsletter as a way to let you know about important news here at Frizzy Bee, including new patterns, posts, giveaways, etc. Thank you for being here! **
Want more Frizzy Bee? Join The Creative Hive and receive our monthly newsletter (sign up on the form in the right hand side bar) that will let you know what’s new here on Frizzy Bee with exclusive offers, giveaways, and fun extras throughout the year!
Materials Needed:
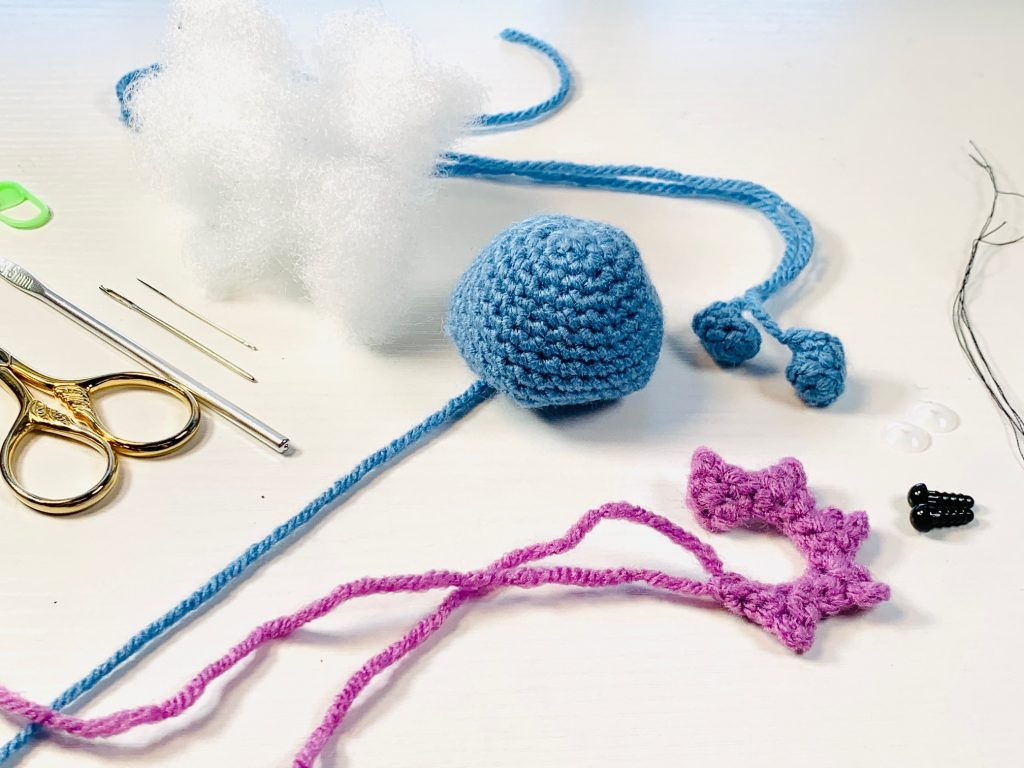
- Crochet Hook: Size 3.5mm (E)
- Two Yarn Colors: 4 ply, worsted weight
(I used Red Heart Supersaver, but you can use whatever cotton or acrylic yarn you have on hand!) - Needles: (1) Yarn, (1) Embroidery
- Embroidery Floss: Black
- Stuffing
- Scissors
- Safety Eyes: 5mm
- Stitch Market or Piece of Scrap Yarn
Abbreviations:
- Double Magic Ring – dmr
- Single Crochet – sc
- Increase – inc
- Invisible Decrease – invdec
- Chain – ch
- Slipknot – sl knot
- Slipstitch – slst
- Front Loops Only – FLO
- Back Loops Only – BLO
- Picot – picot
- Fasten Off – FO
Watch Full Step-by-Step Tutorial on Ink & Stitches YouTube!
Watch Full Step-by-Step Tutorial for Left-Handed Crocheters on Ink & Stitches YouTube!
Body:
R1: 6sc in dmr – 6
R2: inc around – 12
R3: (sc, inc) around – 18
R4: (2sc, inc) around – 24
R5: sc around – 24
R6: (3sc, inc) around – 30
R7: sc around – 30
R8: (5sc, inc) around – 35
R9-11: sc around – 35
R12: (5sc, invdec) around – 30
R13: (sc, invdec) around – 20
R14: Working in BLO (3sc, invdec) around – 16
Attach Safety Eyes and Embroider Mouth Details (see video tutorial 30:52 to follow along).
R15: (2sc, invdec) around – 12
Begin Stuffing
R16: (sc, invdec) around – 8
Finish Stuffing
slst in next, FO, weave in end to close gap.
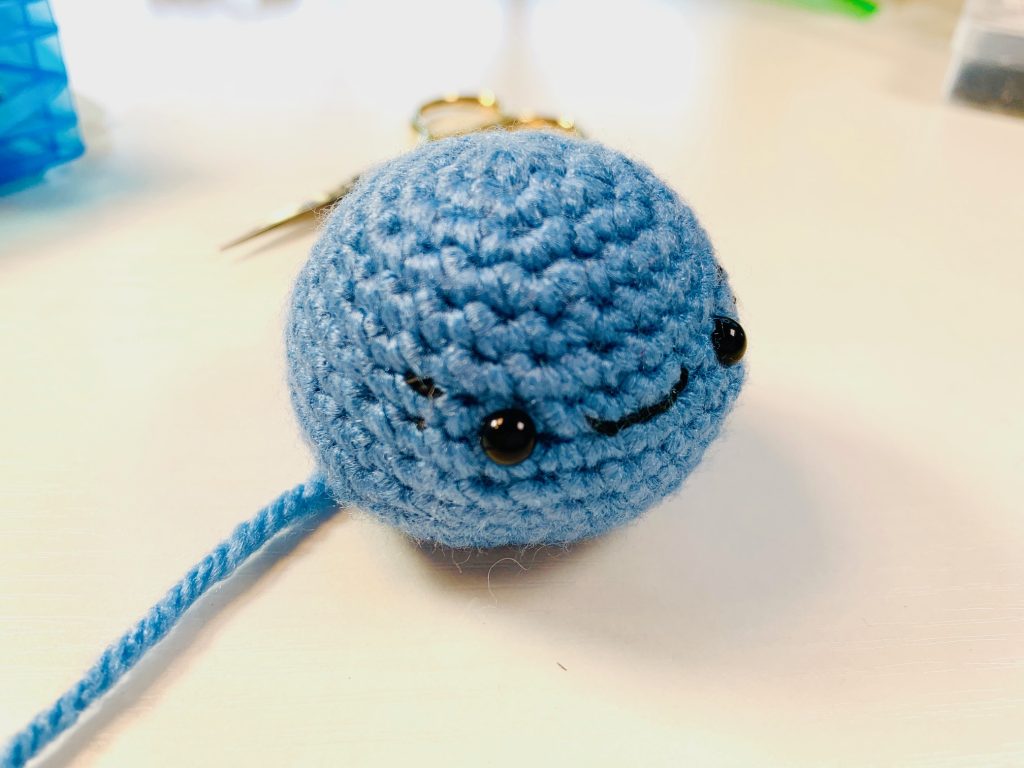
Feet (Make 2):
R1: 6sc in dmr – 6
R2: sc around in BLO – 6
R3: sc around – 6
slst in next, FO, leave tail for sewing to Body.
Spikes:
**To Make a Picot – [sc, ch2, slst in 2nd ch from hook, sc] in next stitch**
ch12, working in 2nd ch from hook, *(picot, slst in next ch) repeat from * 4 times, slst in last ch, FO leaving tail to stitch down to Body.

Assembling:
- Full tutorial starts at 1:02:20 on the video.
- Full Ad-Free Photo Tutorial and Printable Pattern can be found on Etsy.

Subscribe to our newsletter!


