DIY: Solar System Themed Birthday Party
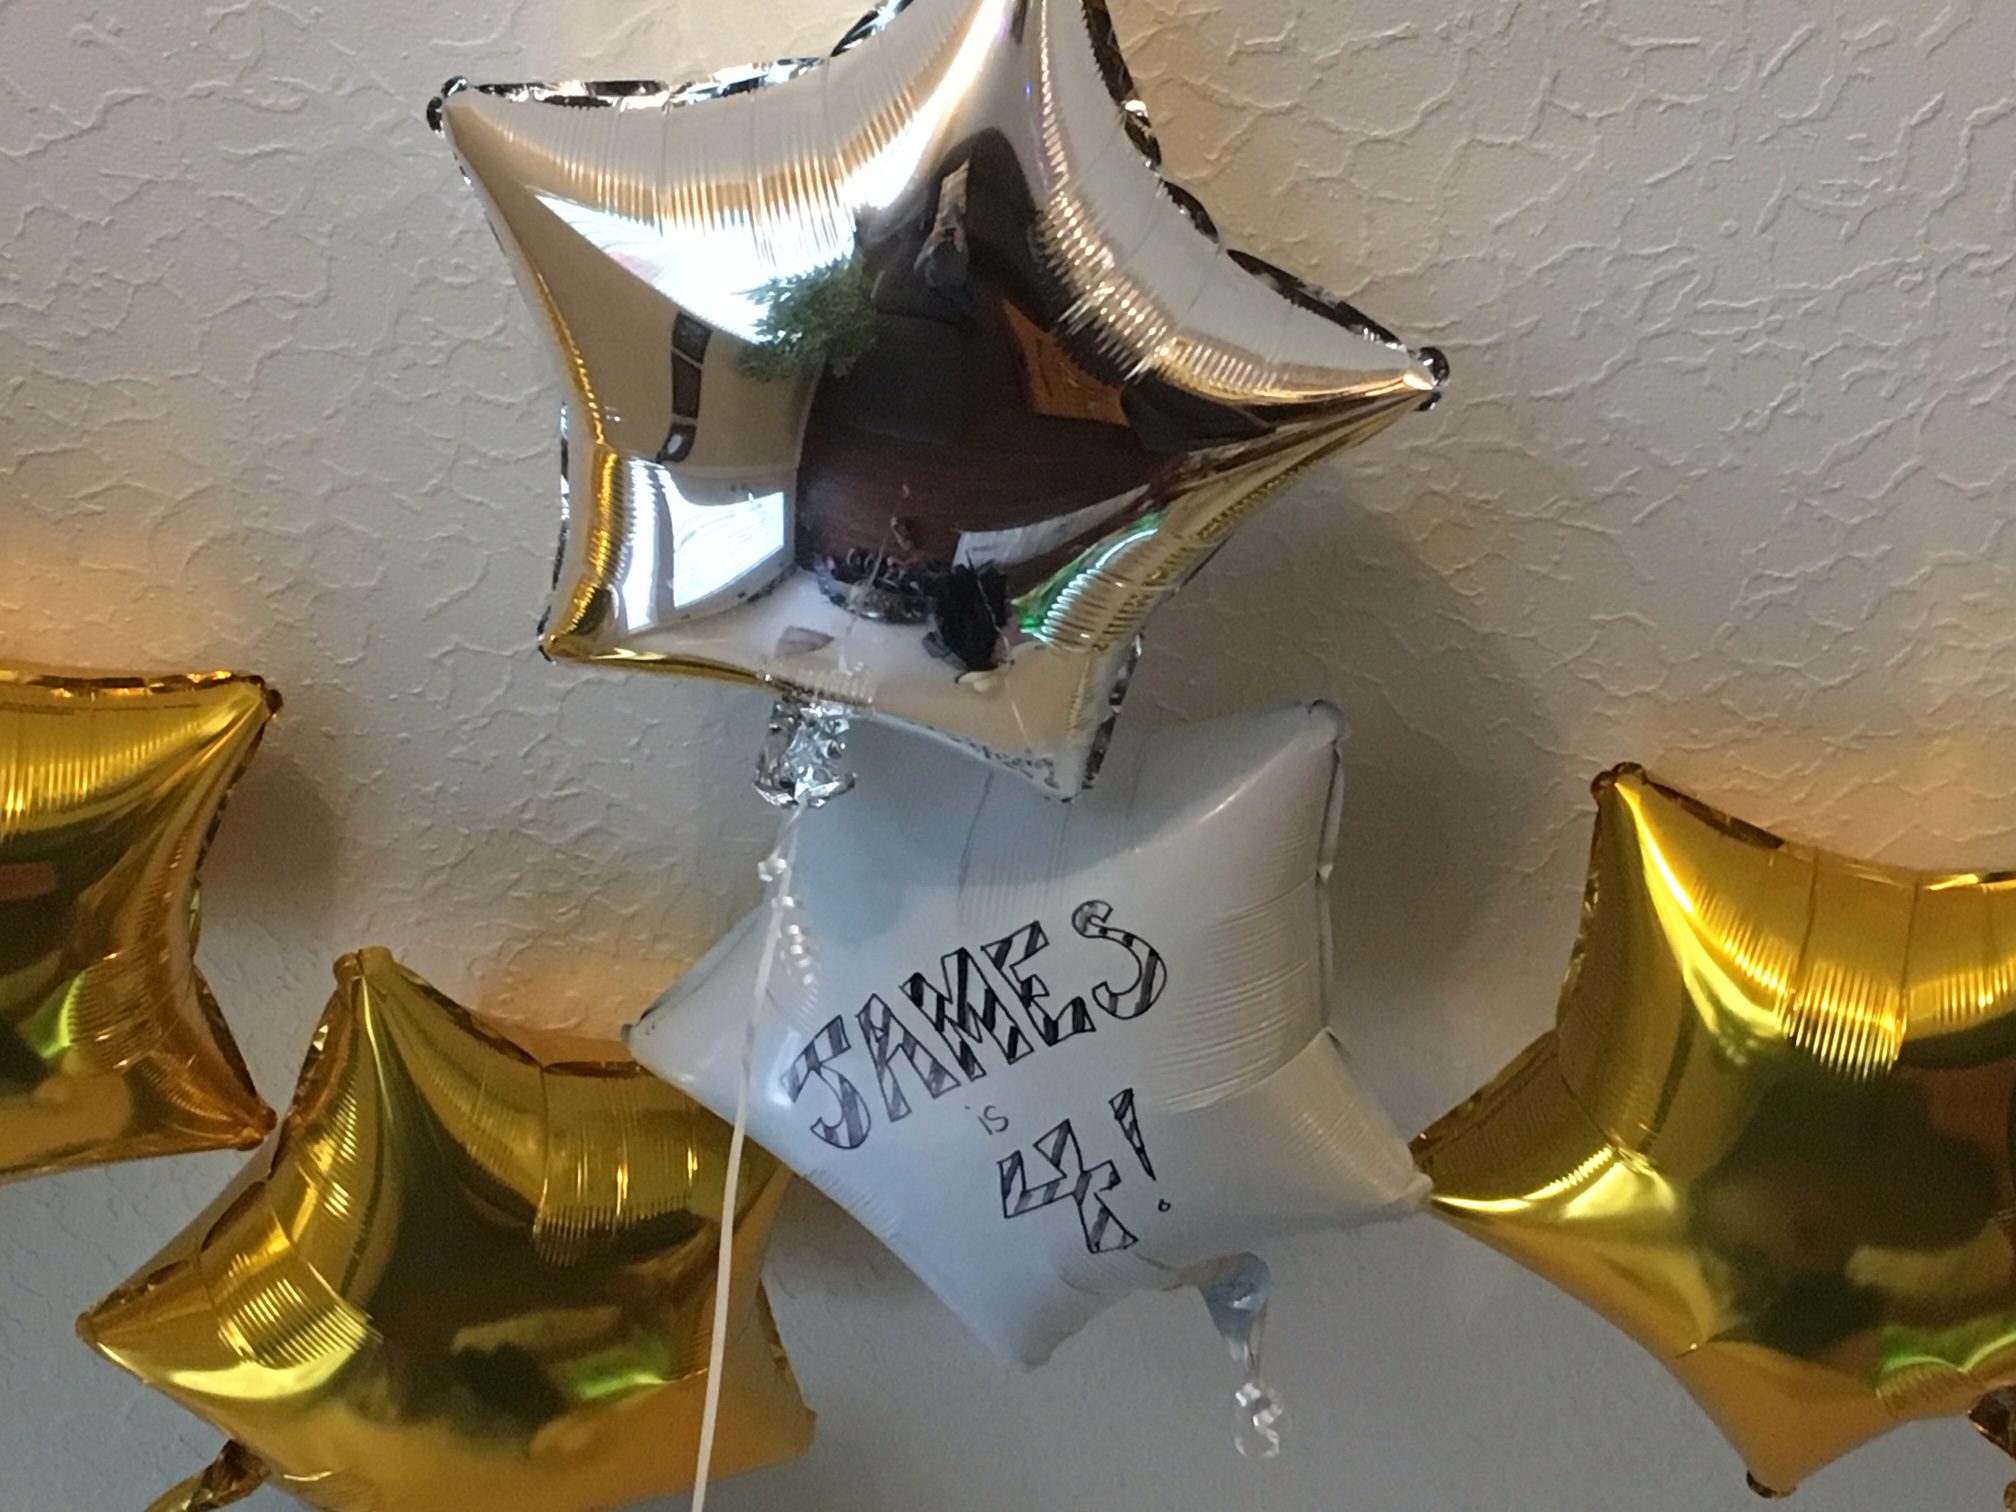
For my son’s fourth birthday, there was only one possible theme we could go with. He lives and breathes the planets, and yes, we do include Pluto in this house!
I immediately went to Pinterest for inspiration. It wasn’t like Party City was going to have anything planets related. Unless he wanted a Ninja Turtles or Ninjago party I was out of luck! I created a Planets Party board and got to work searching every possible DIY project I could find on the subject. Surely, other kids had wanted such a party in the past and lucky for me, I was right!
Since we were having the party at our house, I wanted the kids to have things to do.
I first saw the project to make your own Nebula in a Jar. How awesome would that be??? Then I checked the ingredients: sparkles, cotton, water, and paint. Four-year-olds, wood floors, and paint. Hmmmmm….
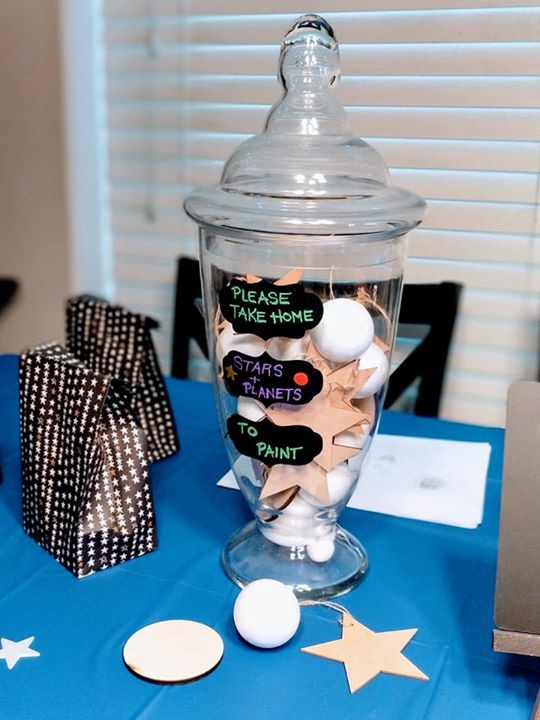
Instead of having the kids do this craft, I got one large jar, and small corked vials and created them with my son’s help. The large jar became a centerpiece for the table and the little ones I put in the goodie bags to take home. I made sure to hot glue down the lids on all vials and jars as the cotton balls soak up a lot of the paint, but it takes awhile for them to fully soak it up (if at all). I created little tags and used twine to wrap them around the top that said “Nebula” for the little ones and “Nebula in a Jar” for the big centerpiece. I loved them and so did my son.
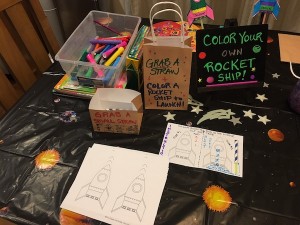
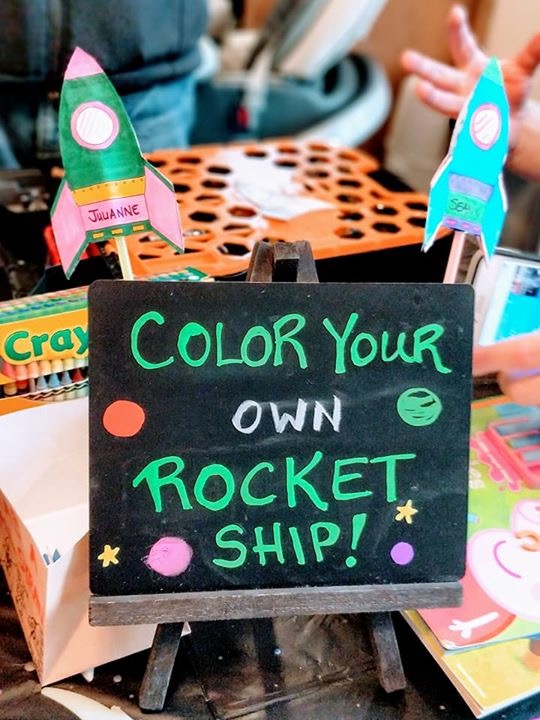
Next, I kept looking for projects the kids could do. I decided that since paint was out, I could manage pens and had them Making Straw Rockets, (coloring rocket ships and creating sailable rockets using straws to launch them). This was a hit and the kids could see whose could go the furthest. We had them write their names after they were done coloring their rockets.
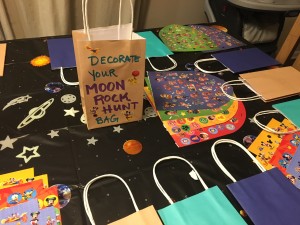
Next up, I had them decorating Moon Rock bags using sheets of stickers and pens and having them put their names on them. While they were decorating their bags, my dad and brother held up a large solar system blanket to block off the view of our front family room and dining area. Then I got to hiding the moon rocks I had made.
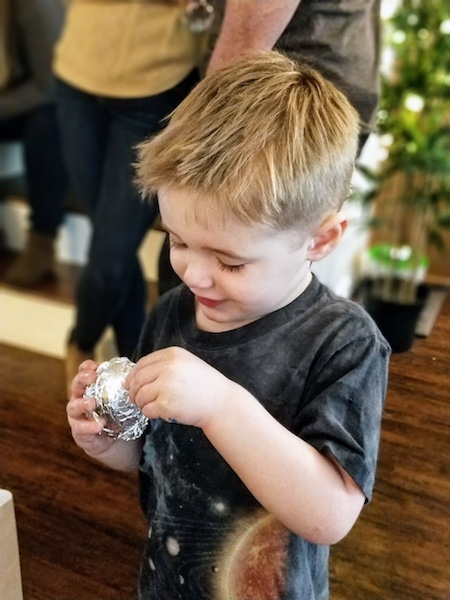
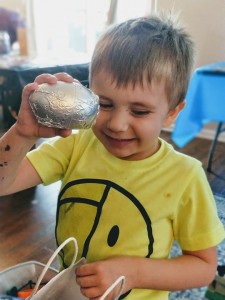
The Moon Rocks were just Easter Eggs that I had leftover. I filled them with toys, loose change, candy, and little pompom creatures I had made up with a hot glue gun. These I wrapped in aluminum foil, and presto-chango…Moon Rocks!
Needless to say, the kids LOVED the Moon Rock Hunt! They couldn’t believe there was actual money in them and preceded to open them right away!
For decorations I knew I wanted to make a solar system that hung from the ceiling. My first try was making the sun, using a balloon and yellow yarn as they showed in this Pinterest Pin. I wasn’t sure if this was going to work, so I decided to let it dry completely and see if I would do the other planets this way. I could tell pretty quickly that the yarn wasn’t going to stay when the balloon was popped.
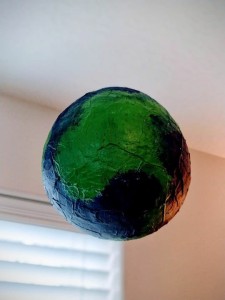
I set the sun aside and with my dad’s help, we paper macheted all the other planets using balloons in the sizes that were relative to how they would be in our solar system. This process took three hours of painstakingly laying down strips of newspaper and papermache paste onto each balloon. We had to do enough layers to make them solid when they dried and that was about three layers of paper.
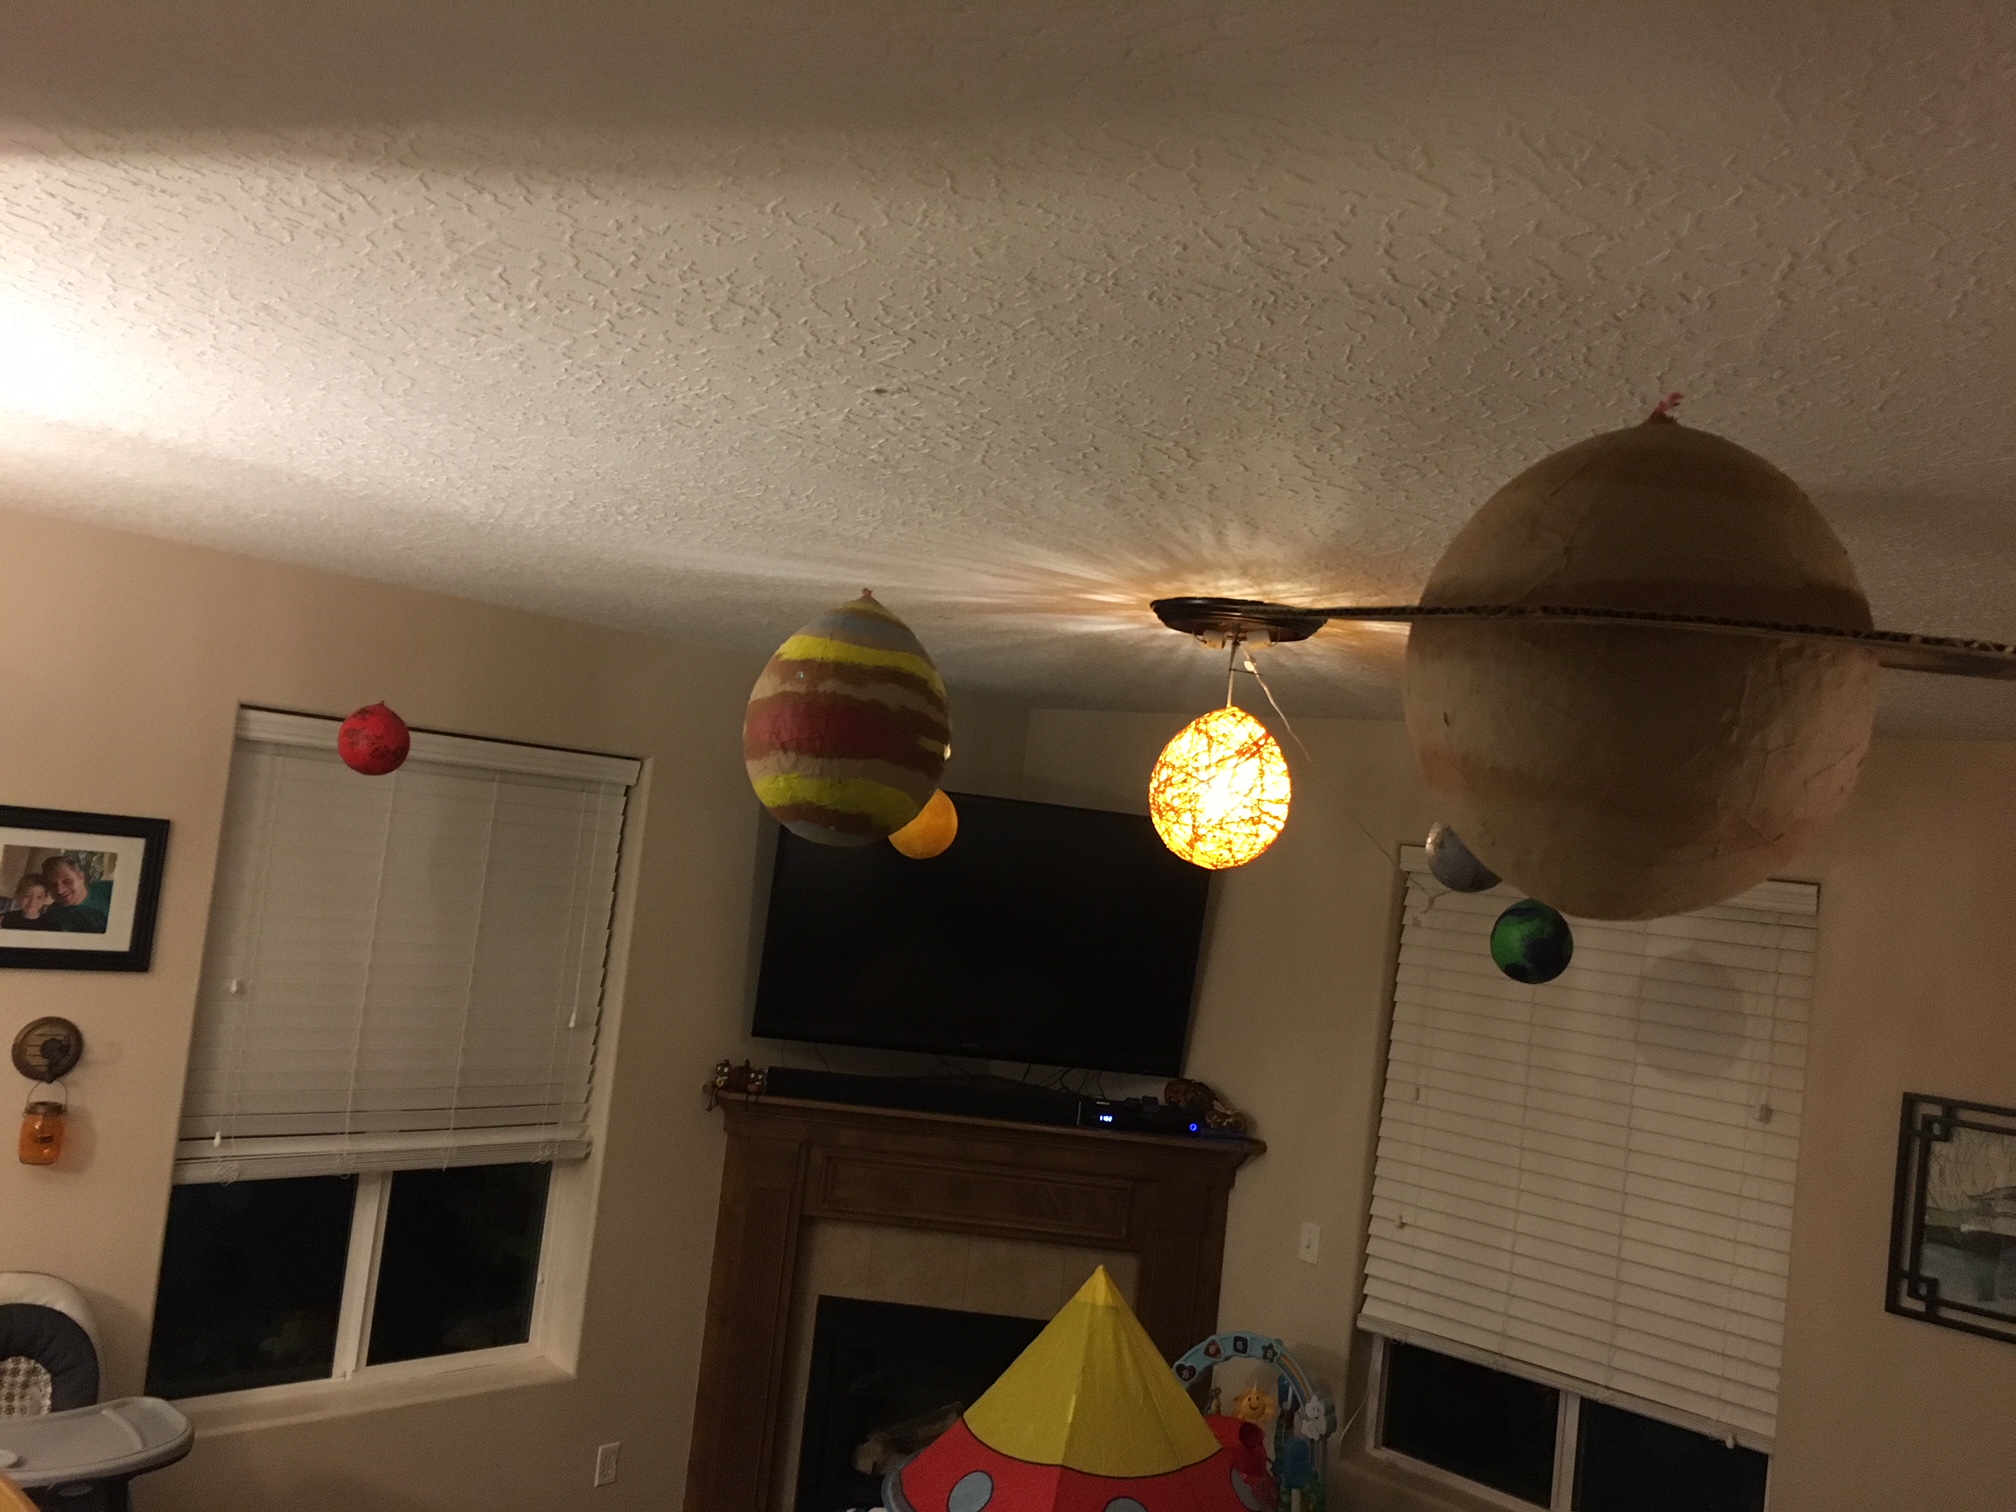
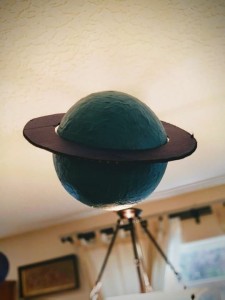
We hung them all to dry and my dad looked at the sun from my prior attempt. I still hadn’t popped the balloon, and being that he is also a handyman and crafty in his own right, he thought he could make it work.
He went ahead and rubbed the paper mache paste over every inch of those yarn strings. He really worked it into every crack and crevice. When he was done, you could tell how well he had done by how heavy it had become. We set that aside to dry as well.
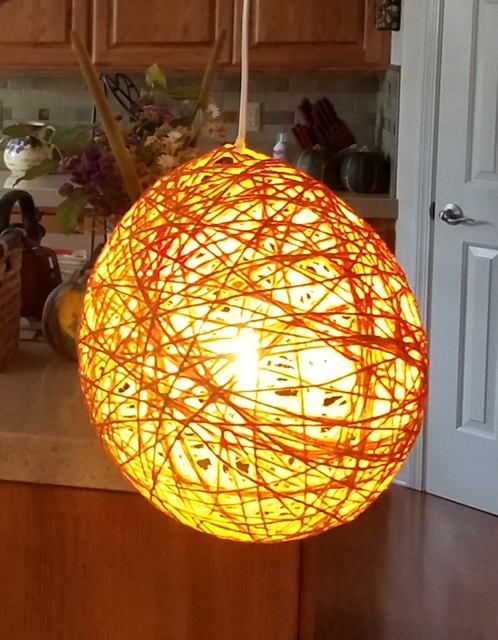
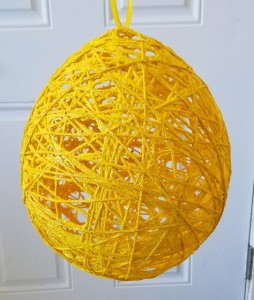 Once dry, my son and I set out to painting all of the planets and my dad took the sun home to transform it. Popping the balloon inside the sun revealed that it had worked just as my dad thought it would. When I got the sun back, it was not only spray-painted yellows and reds to match the sun (the paper mache had dulled the yellow yarn to a whitish yellow), my dad had turned it into its own light!
James was so excited to have all of the planets created out of paper mache that even after the party and still to this day, they are hanging on the ceiling of his bedroom.
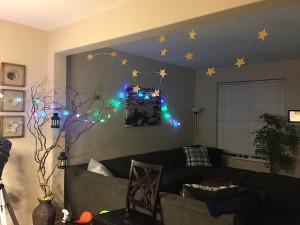
The party was a blast! There were star lights, I made a couple of constellations out of paper cut stars and wire and hung them in the front room. I wanted you to feel when you walked into the house as though you were leaving Earth’s atmosphere, walking through the stars, and in the back of the house you reached the solar system.
We all had so much fun, especially James!
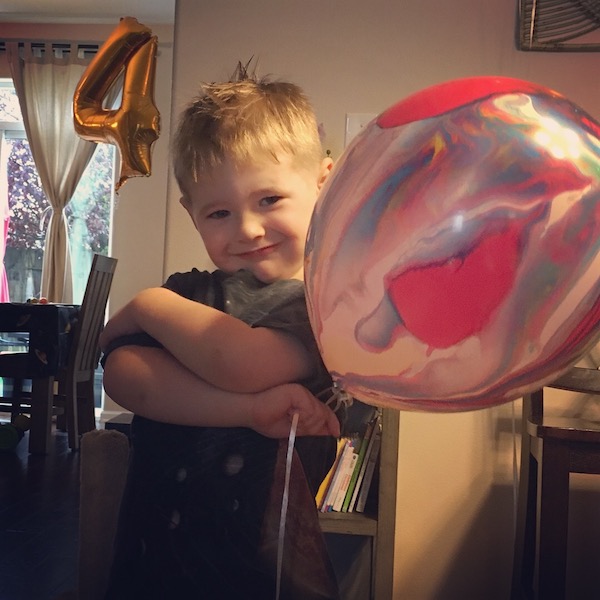
Here are a couple more photos from the party. Let me know if you have any questions below in the comments or if you decide to do your own solar system/planets party!
